Quick Steps:
- Remove the back access panel screws.
- Lift off the back access panel.
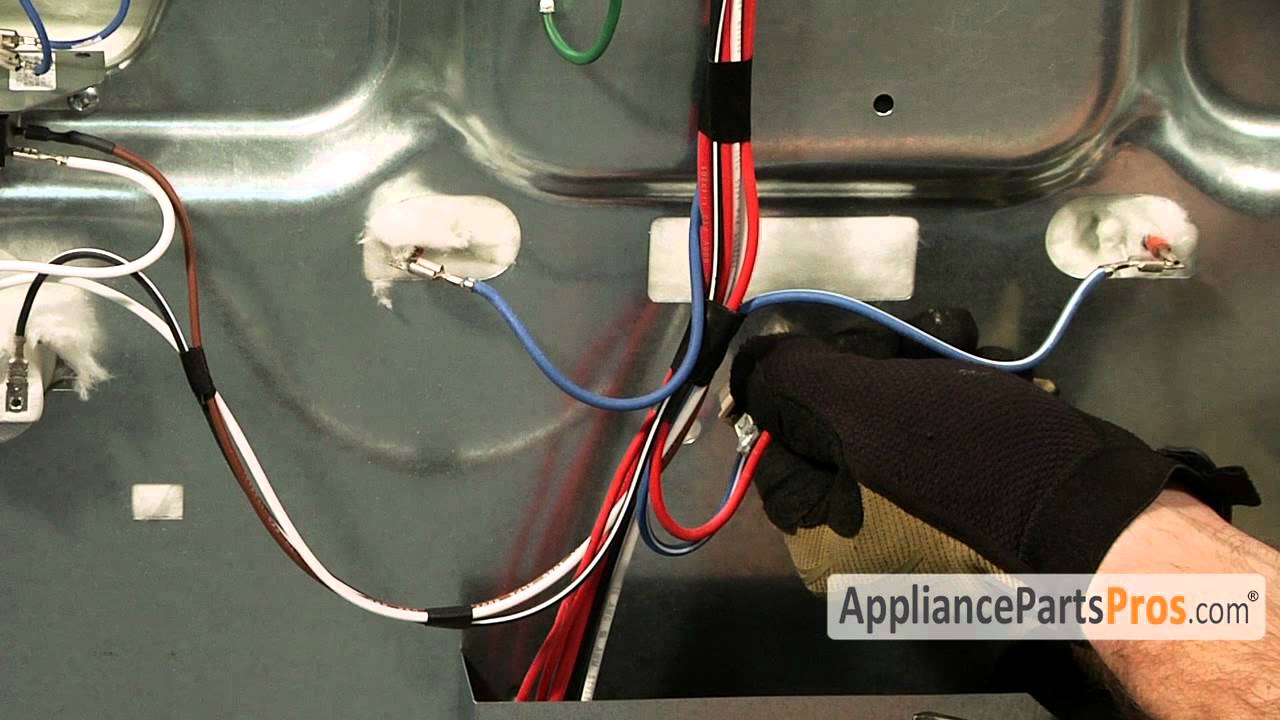
- Disconnect the thermal fuse wires and remove the Phillips screw.
- Replace the old thermal fuse with the new one by mounting it and aligning the pin.
- Reconnect the wires.
- Reattach the back access panel and secure the screws.
Parts used
| Part | APP SKU | Order link |
|---|---|---|
| Thermal fuse WP3196548 | WP3196548 | Purchase WP3196548 |
Tools you’ll need
Phillips Screwdriver
Full transcript – click to expand
View Transcript
Hi, this is Matt with AppliancePartsPros.com.
Today we'll be showing you how to repair your appliance.
Remember, anytime you work on an appliance, make sure it's unplugged or the circuit breakers
are off so there's no chance of electrocution.
In this video, we're going to show you how to change out the thermal fuse.
It's going to be a very easy repair and should only take a few minutes to show you how to
do it.
If you already have one of these, great.
If not, you can click on the link below or get it at AppliancePartsPros.com.
When you open up the package, you're going to get a new thermal fuse.
The main reason you'd be changing out the thermal fuse is if it's shorted out due to
high temperature and needs to be replaced.
In order to change this part out, we have to remove the back access panel of the stove,
so we need to remove all these screws.
Once you have the screws out, we can go ahead and lift the panel off.
In order to change the thermal fuse out, we have to disconnect the two wires
and remove the Phillips screw that holds it in place.
Here's the old thermal fuse next to the new thermal fuse.
If you already have one of these, great.
If not, you can get it at AppliancePartsPros.com.
To reinstall the thermal fuse, we have to put the screw in and mount it to the cabinet.
There's a little pin right here that goes right in this little hole to hold it where it's supposed to go.
Once we have it mounted in place, we can reconnect the wires.
This is just a thermal fuse, so it doesn't matter which wire the terminals go on.
Now that we're done with the repair, we have to put the back of the oven back on.
The top goes into this tab right here,
and the bottom has to go underneath this other panel at the base.
Once you have it lined up, you can put the screws back in.
Now that you're finished repairing your electric range, you can plug it back in and test it out.
Thanks for joining us for another successful repair brought to you by AppliancePartsPros.com.
Check out our other repair videos on our site, Facebook, and YouTube.
AppliancePartsPros.com
Need help finding parts or troubleshooting? Post your question in the Oven Repair Q&A section.
