TLDR – 5-step game plan
- Unplug washer, shut off water, remove top and control panel
- Pull door-boot clamp, front panel, and outer-tub weights
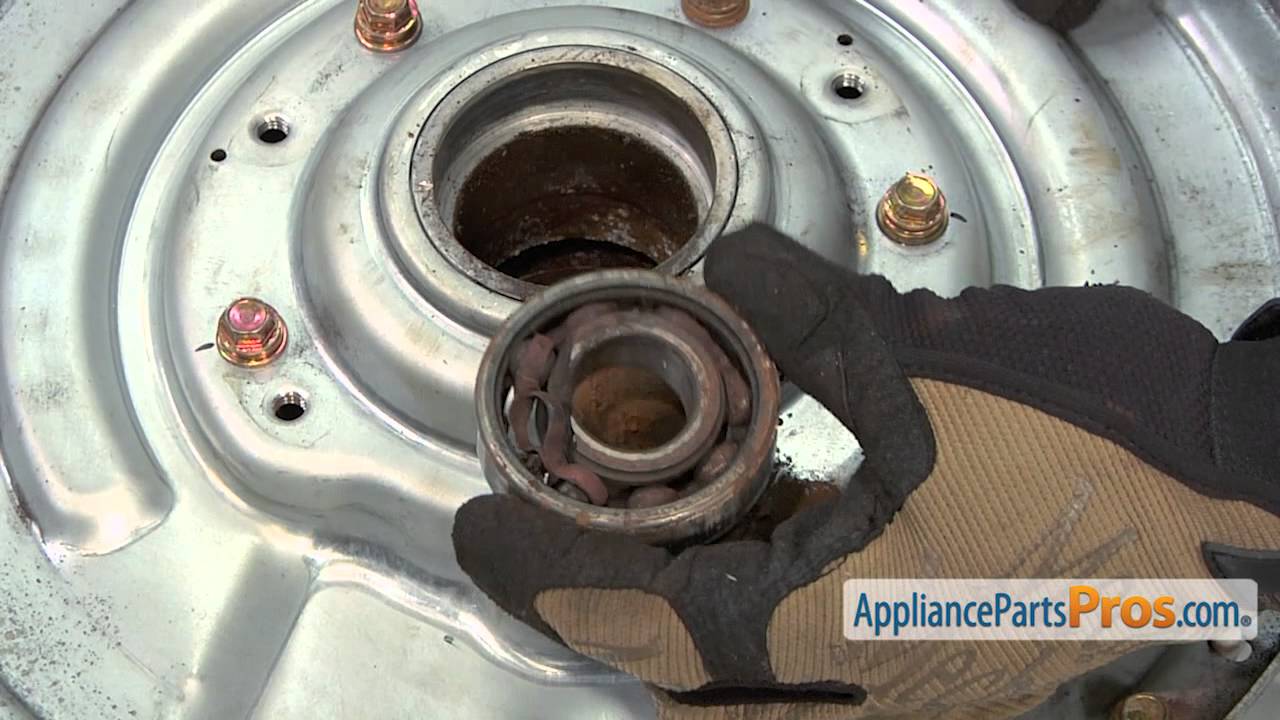
- Lift outer tub, split it, press out old bearings and seal
- Tap in new bearings and tub seal 4036ER2004A, re-assemble tub
- Re-install weights, panels, boot clamp, test for leaks
Parts used
| Part | APP SKU | Order link |
|---|---|---|
| Tub seal 4036ER2004A | 4036ER2004A | LG 4036ER2004A Tub Seal Gasket (AP4438637) - AppliancePartsPros.com |
| Upper & lower tub bearings* | 4280EN4001C | LG 4280EN4001C Tub Ball Bearing (AP5672864) - AppliancePartsPros.com |
*SKU 4280EN4001C replaces LG part numbers 4280FR4048 and 4280FR4048L.
Tools you’ll need
10 mm & 17 mm sockets, Phillips driver, flat-blade screwdriver, punch, rubber or brass hammer, locking pliers, penetrating oil.
Full transcript – click to expand
Hi, this is Matt with AppliancePartsPros.com. Today we’re replacing the seal and bearings on an LG/Kenmore front-load washer. Always unplug the appliance and shut off the water before beginning.
We’ll start by removing the top panel: take out the rear screws, slide the panel back about an inch and a half, then lift it off. Pull the detergent drawer, press the tab to release it, and remove the two Phillips screws behind the drawer.
Untwist the wire holders, disconnect the harnesses, then unsnap and remove the front control panel. Open the door, pry the spring clamp off the door boot, peel the boot from the front panel, and disconnect the door-switch harness.
Pop off the small access cover at the lower left. Remove the screw securing the trim panel, feed the drain hose through, and pull the trim off. Remove the Phillips screw behind it and the four screws across the top of the front panel. Lift the entire front panel off the washer.
Detach the single hose on the door boot (some models have two). Use a flat screwdriver to pry off the inner boot clamp and pull the boot from the tub. Remove upper and lower tub weights with a 10 mm socket.
Loosen and remove the three hoses at the top of the tub and disconnect the thermistor harness and ground strap at the bottom. Cut the zip-tie holding the wire harness. Take off the rear access panel, loosen the big clamp on the tub-to-pump hose, and disconnect the pressure chamber.
Remove the 17 mm bolt holding the rotor, then pull the rotor off. Remove all 10 mm bolts securing the stator, lower it, and unplug its two harnesses. Use a 13 mm socket and pliers to press the locking tabs and remove the three shock pins (two front, one rear). Detach the springs at the top corners and lift the entire tub out of the cabinet.
Set the tub on wood blocks, remove all perimeter bolts, and split it. Inspect the front half for wear; replace if gouged. Lift out the inner basket. Knock out the bearings from the rear half with a punch, clean the bores, and press in the new bearings. Run a thin film of liquid soap around the new seal and press it flush.
Re-install the inner basket carefully so the shaft doesn’t cut the new seal. Bolt the two tub halves together, then lift the tub back into the cabinet, hanging it on the springs first. Re-install shocks, hoses, harnesses, weights, stator, rotor, rear panel, and front panel in reverse order. Re-seat the door boot, spring clamp at 6 o’clock, and reconnect the control panel and detergent drawer.
Plug the washer back in, turn the water on, and run a spin test. No leaks, no grinding—repair complete. Thanks for watching, and remember you can get all the OEM parts at AppliancePartsPros.com.
Need help? Post questions in Washer Repair Q&A.
