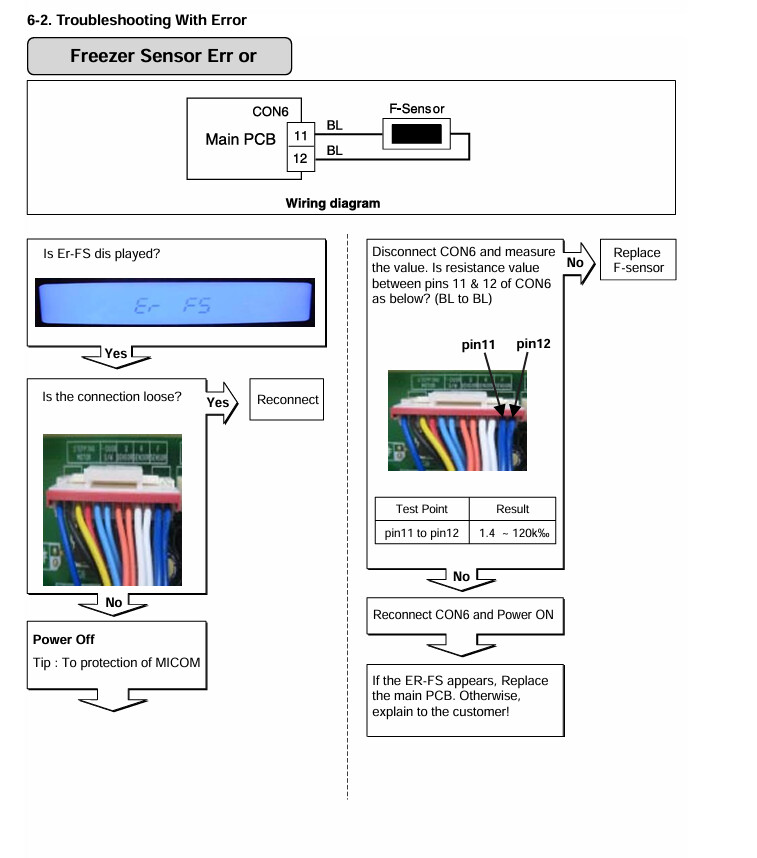
Brand: Kenmore Model Number: 795.79024.313 Main Symptom: does not cool What happens & when: stuff in freezer melts, stuff in fridge gets warm
Error Code (if any): red LED on control panel blinks 6 times
Parts or tests already tried: compressor fan runs, but compressor does not, and does not make noise. Coils are not dirty. Run capacitor measures 18.05 uF (nominal 18 uF +/- 5%) and 0.1 ohm ESR. Overload protector measures 9.2 ohms (across large pins on connector plug: third pin shows no connection).
A 6-blink red LED on the main control board of your Kenmore 795.79024.313 (LG-built) indicates the control is detecting a compressor start failure. Since you’ve already verified the condenser fan is running and the compressor is silent, you’re on the right track.
Based on what you’ve tested so far, here’s the order I’d recommend.
1. Verify the overload protector
The overload protector should measure very close to 0 ohms (typically less than 1 Ω) when it’s cool.
Your reading:
9.2 Ω across the overload = not normal
That is high enough to prevent the compressor from receiving full power. Before condemning the compressor or control board, I would replace the overload if that measurement was taken directly across the overload contacts.
2. Verify power to the compressor
Live Power Warning
Extreme care should always be taken when testing with live voltage. Electric shock can cause serious injury or death. If you’re uncomfortable making live voltage measurements, do not perform this test.
With the refrigerator plugged in and calling for cooling:
Measure AC voltage at the compressor start device.
You should measure approximately 120 VAC.
Results:
120 VAC present but compressor silent → problem is the start device or compressor.
No 120 VAC → control board or wiring problem.
3. Check compressor winding resistance
Remove the start device and measure the three compressor pins.
You should have three readings:
Common to Run
Common to Start
Start to Run
The two smaller readings should add up to the largest reading.
Also measure from each pin to the compressor shell.
Expected:
Open (OL) to ground on all three pins.
If any pin shows continuity to the shell, the compressor has failed.
4. Inspect the PTC start relay
Many LG-built 795 refrigerators use a PTC relay.
Check it for:
Burn marks
Cracks
Loose ceramic pieces inside (shake it gently)
Melted terminals
If damaged, replace the relay and overload as a set.
5. If all of the following are true:
120 VAC reaches the compressor
Overload and relay are known good
Compressor windings test correctly
Compressor is not grounded
Compressor only hums briefly or never starts
then the compressor has an internal mechanical or electrical failure and will need replacement by a sealed-system technician.
The one thing I’d question first
You reported:
Condenser fan runs
Compressor completely silent
Capacitor measures correctly
Overload measures 9.2 Ω
That overload reading stands out. A healthy overload should essentially read as a closed switch. If you measured 9.2 Ω directly across the overload itself, I would replace the overload/start device before moving on.
A couple questions:
Is the 6-blink LED repeating continuously, or does it pause and repeat every few seconds?
Is the compressor completely silent, or does it click every 30–60 seconds?
Can you provide the compressor model number (on the black compressor label)? That will identify the exact start device used on your refrigerator.
The 9.2 ohms was measured across the two large pins in the plug to the compressor overload protector assembly. I haven’t been able to remove the assembly from the appliance to check the overload protector by itself. It is wedged between the compressor and the side wall.
The 6-blink LED repeats with perhaps a second delay between each set of 6 blinks (I didn’t time it exactly).
Compressor is completely silent - no clicking.
I don’t see a PTC start relay in the parts list anywhere - would it be on the main control board?
I managed to move the compressor enough to get the plastic over off the Compressor Overload Protector Assembly, but the protector itself is still inside the plastic case and attached to the compressor with short enough wires that I can’t remove it any further. It appears that Overload Protector is connected in series between the plug contacts where I measured it and the compressor itself: in that case, I’d assume that the 9.2 ohms was measuring was the combination of the Protector and the Compressor windings: is that about what I should expect in those circumstances?
There seems to be some sort of plug that I need to unplug from the compressor, but that is hidden behind a metal bracket on the side of the compressor. I’ll have to feel around back there and see.
I think I can measure the compressor drive voltage at the socket where I unplugged the cable to the Compressor Overload Protector Assembly, but at the moment I don’t have a location where I can measure it at the compressor terminals (that’s the plug that I have to find). That would be without the compressor load on the inverter. Is there a point on the control board where I can take the measurement if I reassemble the Protector Assembly and plug it back in? (I can’t see the color of the wires from the socket to the control board.)
I don’t see an separate inverter board anywhere, either. Is that built into the controller?
That does help, but it also adds a bit to the confusion…
I was finally able to unplug the Overload Protector Assembly from the Compressor and remove it to access the Overload Protector. (The plug is behind a metal bracket attached to the compressor, making it difficult to see.) The Overload Protector itself measures about 0.7 ohms cold, while the compressor winding measures 8.5 ohms, resulting in the 9.2 ohms that I had measured where it plugs into the chassis (since the two are in series). I assume that means that both the Overload Protector and the Compressor windings are normal.
But some details don’t match the materials. For example, there is no PTC starter in this unit, and the wiring harness only connects to two of the 3 pins on the compressor. The instructions for the Overload Protector appear to have a drawing of the PTC starter unit instead. The instructions for accessing the OLP/PTC cover are at best incomplete - the cover is too close to the sidewall, and the compressor is mounted differently.
The detail photo of the Lg EBG60663205 Refrigerator Compressor Overload Protector Assembly on your website is correct, however: it shows only two wires going to the compressor plug, and the Overload Protector but no PTC starter. But at this point, that doesn’t appear to be the problem.
Next step is to put it back together and try to measure the voltages at the control board.
There is no error code shown via the freezer and fridge temperature displays - they show the desired temperatures, even when the freezer was up to 35F and the fridge up to 55F.
I think I saw a reference somewhere to a push button on the controller board that forces the compressor to start. I may give that a try, too, once I get it put back together.
I measured the compressor drive voltage at the end of the Overload Protector Assembly cable (without the Overload Protector or the compressor connected) and it gradually increased to about 160 VAC. There is no way that I can see to measure the voltage at the compressor terminals when the compressor is plugged in because it is behind a metal bracket.
 Live Power Warning