Quick Steps:
- Remove the control panel by unscrewing its screws, sliding it forward, and lifting it off.
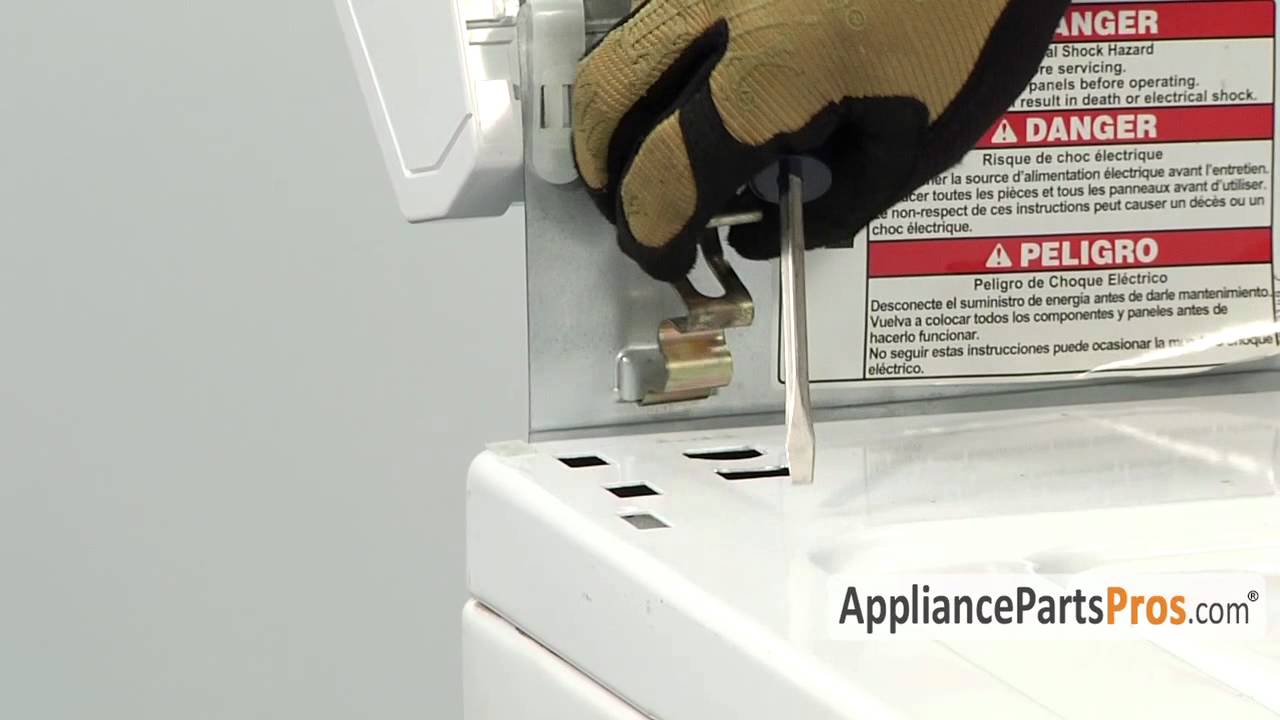
- Disconnect the lid switch and pry out the retaining spring clips with a flathead screwdriver.
- Lift the lid, tilt the cabinet 45 degrees, and carefully lift the body off the frame.
- Access the machine interior to perform the necessary repair.
- Reinstall the cabinet by tilting it 45 degrees, aligning the lower lip under the frame, and hooking the locking tabs.
- Reconnect the lid switch, slide the control panel back into place, and secure it with screws.
Tools you’ll need
Flathead screwdriver, Putting knife
Full transcript – click to expand
View Transcript
Hi, this is Matt with AppliancePartsPros.com and today we'll be showing you how to remove
and replace the cabinet on the Whirlpool Direct Drive Washer.
Remember, anytime you work on an appliance, make sure it's unplugged or the circuit breakers
are off so there's no chance of electrocution.
Also, make sure you turn off your hot and cold water supplies.
The first thing we have to do is to remove the control panel.
It's usually held in place by two screws.
They're located in either the front or the rear of the control panel.
Some models have trim covers that you have to lift off to gain access to the screws,
and on other models, they have spring clips that you have to slip a putting knife underneath
to release them.
Once you have your screws out, slide the control panel forward about a half an inch and lift
it back over the back of the machine.
With the console out of the way, we have to go ahead and disconnect the lid switch and
remove the two retaining spring clips that hold the body to the frame.
With a flathead screwdriver, just pry them out.
Next, we have to go ahead and remove the body from the frame of the washer.
So we have to lift up on the lid and grab the body right here, put your foot against
the body of the machine, tilt the body back to about 45 degrees, and carefully lift it
off the washer.
Now that you have the cabinet off the washer, you have access to the inside of the machine
to change out the part.
Now that we're finished with the repair, we can go ahead and put the cabinet back on the
To put the cabinet back on the machine, we do it the same way we took it off.
Grab the cabinet, tilt it to a 45 degree angle, and swing it back onto the washing machine.
When you're sliding the body back onto the frame, make sure you get the lower lip underneath
the frame, and then lower it down onto the four locking tabs.
So just go ahead and hook the clips onto the back panel, and with your flathead screwdriver,
push them down into place.
Reconnect the lid switch.
To close up the console, all you do is rotate it forward over the front of the machine,
make sure the locking tabs lock in place, pull it back about a half an inch, and replace
the screws.
Now that you have the machine reassembled, you can go ahead and plug it back in, turn
the water back on, and take it for a test spin.
Thanks for joining us for another successful repair, brought to you by AppliancePartsPros.com.
Check out our other repair videos on our site, Facebook, and YouTube.
Need help finding parts or troubleshooting? Post your question in the Washer Repair Q&A section**.
