Hi,
My dryer is not heating at all. 240V is fine. I’m suspecting it’s the heating element, so I’d like to test it with a multimeter.
How do I access the heating element to remove and test it? Do I need to pull out the entire drum from the front to do this job? It doesn’t appear that the back panel has any access points on this model. There’s a tiny panel at the bottom where the power cord enters, but that’s it.
I’ve seen a lot of tutorials on opening the top and front of GE electric dryers, but I can’t find any regarding the heating element in the back.
If someone could tell me the additional steps required to do this, I’d appreciate it!
I managed to figure this out on my own, so I thought I’d write the process for anyone who needs to open this model up. It’s slightly different than other GE models I’ve found internet instructions on.
Mainly, I found it was very helpful to remove the left side of the machine to get to that pulley system. It’s possible an experienced repair person could do this through the small space presented at the front, but it seems like a pain for someone who’s never done it before.
[LIST]
Unplug the washer.
Lean the washer back and remove the screws holding the left side in to the underside. Bring the washer back to an upright position.
Open the front door and unscrew the 2 screws inside the top of the door. Lift and pull the top towards you.
Push the door closed again and unscrew the 2 screws holding the front onto the machine. You’ll find them looking down into the washer, one on either side. There are no screws on the underside of this model, as most GE instructions online refer to.
Pull the door towards you so it disengages the drum and pull up and out. Be careful not to pull the wires that still connect it to the machine.
Take a picture or somehow label the 3 attached wires so you know how to reattach them later.
One wire has a plastic coupler you simply pull. The other two are crimped on to the door button relay. Use a small flathead screw driver to loosen the crimps if necessary and pull them off. The door can now be set aside.
Remove all the screws holding the left side in to the 3 remaining sides of the frame. Pull the 2 feet off from underneath the left side. Unscrew the 1 screw holding the metal piece attached to the back of the dial panel. Flip the dial panel back. (I’m not sure if this is necessary, but it seemed to be catching the left side somewhere).
Use a flathead screwdriver or similar tool to pry the left side away where divets in the metal are still holding it to the frame of the machine.
Take a picture of the belt pulley system for future reference and push the top of the pulley down to release the belt.
The drum now comes out freely
[/LIST]
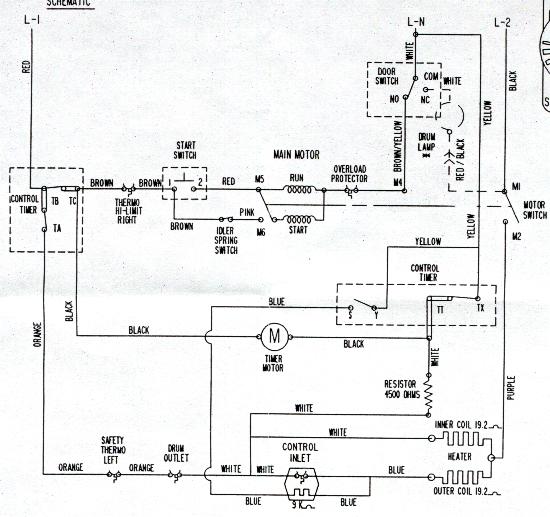
With the heating element exposed, I just pulled one of the wires from the bottom left and the one on the bottom right, and was able to test it with an multimeter set to ohms. One probe on each of the prongs on the lower left of the element showed infinite resistance instead of the desired 8-12 ohms, which indicates a burnt out coil. Testing through the coil I found where the break was, hidden inside one of the insulators.
Testing between the prongs and the element’s outer casing also found infinite resistance, which should hopefully mean no short was ever present. If I had been less lucky, it seems like a burnt out coil could have touched the outer casing and caused a short which would burn out other components.
If anyone wants to point me towards other tests I should do now that it’s open, to make sure no other components were damaged when the coil burned out, I would really appreciate it.
I’ll add more notes if reassembly with the new element presents any more important steps.
Of course any tips for ME are greatly appreciated at this juncture. This dryer was given to me like this and so far a $40 fix (for a used element) is seeming like a good deal. But I may be missing something as I’ve never done this before.
Will search these forums for info on these suggestions. Already planned on checking the new element, especially since it’s used, as well as the thermostats and fuses
Didn’t think of those other things, since it’s running fine other than the heating issues, but I’ll look into it.
Was definitely going to vacuum out the dirt as well.
Continuity between the contacts at the lower right, and none between the each of the contacts and the element housing.
However, I’m getting an ohm reading of about 40 ohms between the contacts. I thought I was looking for more like 10 ohms there. As expected it’s an even 20 ohms between the one of the contacts at the lower left and the contact at the lower right, located between the 2 coils
Is this indicative of a problem with the replacement unit? Everything looks okay. Maybe I have that 10 ohms number off?
I’m using a radio shack autoranging digital multimeter - a cheapie.
Yeah I did some searches online and found references to heating elements being anywhere between 5-40 ohms, so I double checked that there was continuity in the surrounding components and installed the new element. Dryer’s heating great now!
Only problem is now there’s some quiet squeaking while the drum is spinning. I checked with the original owner and this is something new. I’m assuming I misaligned something when I put it back together, so I’m going to open it back up and check all the spots where components slide past each other.
One thing I didn’t take note of when I disassembled the dryer is which side of the belt is which. I assumed the ridged side was supposed to interlock with the ridges of the shaft coming out from the motor (which would also put that side against the drum itself). Is this correct?
Any other suggestions would be appreciated. Again, this is a new problem since I mucked with the dryer. It’s spinning fine and the squeak is pretty consistent and quiet, but I want to nip this before any damage is done.
[COLOR=“DarkRed”]I assumed the ridged side was supposed to interlock with the ridges of the shaft coming out from the motor (which would also put that side against the drum itself). Is this correct?[/COLOR]
Sounds correct to me, see the following belt diagrams. http://forum.appliancepartspros.com/dryer-repair/25860-dryer-belt-diagrams.html
For the squeak a common cause is the rear drum support bearing.
Also it’s ground strap (Item 515 in Section 2 of the parts). If the unit has a rear access panel this is probably the easiest to check. If it is the ground strap get some conductive grease and lube it use it very sparingly. It is called a number of things but was originally designed to coat aluminum wires so they would not corrode. Should be available at any hardware store.
Other most likely are the front glides (Item 316 in Section 2).
The idler wheel.
And perhaps the motor bearings.
If you use grease or oil to get rid of it use it sparingly as it will hold lint.
Ok, it just opened the dryer back up (no access panels whatsoever on this model).
Glides looked ok. A little worn but not shot. I pulled the drum out far enough to just see the bearing (without having to take off the belt). It didn’t look bad, but there’s some sort of plastic clip or something at the end that was a little cracked. It was hard to see what it is, but a little piece fell off. I think it must clip the bearing onto the shaft. Anyways, it’s still holding the bearing on, and when I reassembled it the squeak’s gone.
So either the tiny plastic piece was rubbing against something, or I simply misaligned the drum a little somehow. I think the drum is spinning a little faster too. So I’d guess misalignment…
But all I care about at this point is that I have a nice working dryer for $40!