|
|
|
|
|
|
|
|
The thermall cut-off kit with the Part number: 3977394

is the correct part number for this dryer. Both thermostats from this kit must be installed at the same time. The high limit thermostat is shown as #15 on the diagram. One of the most common cause for a dryer overheating is a restricted air flow through the dryer exhaust line. It has to be cleaned all the way through its outlet at least every other year. Gene.
|
|
|
really great forum and thread. I have a similar problem. I checked the full list 1.breaker- good 2.220v - good 3.thermal fuse - good 4.heating element - good 5. thermal cut-off - bad ( no continuity ) thermal cut-off, the part number was 3977393, I was given a 3977394 as a replacement, it appears this was not the correct replacement part, so I may need to order the correct one. Even with the wrong part the dryer worked for a little while and then no heat again. I checked the 3977394 and again there was no continuity. What could cause the thermal cut-off to go bad? ( I'm assuming too much heat, anything else? Also the Thermal cutoff 3977393 (#9 on the diagram) appears to come with a High-Limit thermostat but I don't see where it is located on the diagram for the TEDS840PQ1. Bulkhead parts, optional parts (not included) replacement parts for WHIRLPOOL TEDS840PQ1 29"electric Dryer | AppliancePartsPros.comIf this High-limit thermostat is bad could this be the reason for the Thermal cut-off to go bad too? thanks again. j
|
|
|
Thank you again for your patience and help. I am glad I didn't spend $30 bucks to turn around and put $100 or more into it!
Maybe I can moonlight as an appliance repairman ;)
|
|
|
You are welcome. I'm glad you found what was wrong and fix it. It was not very simple but you did it. Good job!
Gene.
|
|
|
I figured it out. In a failed attempt to clean up my breaker box, while converting from a 3prong 220 to a 4prong 220, I moved my ?220 block or double 30 block? over one position, which I guess made it not in fact 220. Move it back to its original position and BK&R read 230. Turned it on and we have heat. So it was my fault the whole time. Thats why I am not an electrician, I am a cell phone salesman and car audio installer!
Thanks Gene for all your help! I really appreciate it!
|
|
|
I know I have to change the lead position depending on what I am doing
R&W = 120
BK&W = 120
R&BK = -2 - +2
I can grab a different meter tomorrow and retest, but I have never had an issue with this meter before
|
|
|
When you are going to measure voltage, the leads have to be plugged in the COM and V points at the meter. When you are going to measure resistance, the leads have to be plugged in the COM and Ω points at the meter.
Set the meter on 600 VAC and measure the voltage between the Red & White, the Black & White and between the Red & Black wires at the terminal block.
Gene.
Neutral with ground is normal.
|
|
|
My meter so you know my options 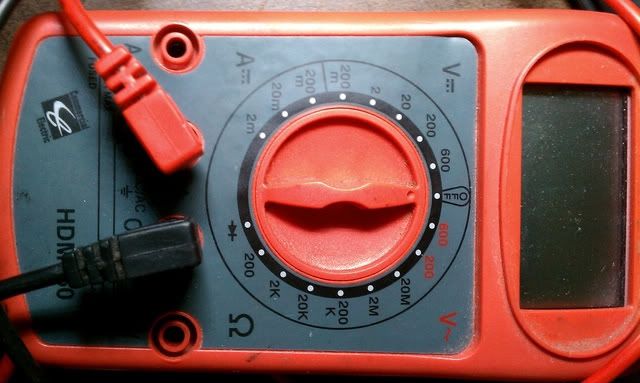 The married wires I was talking about. 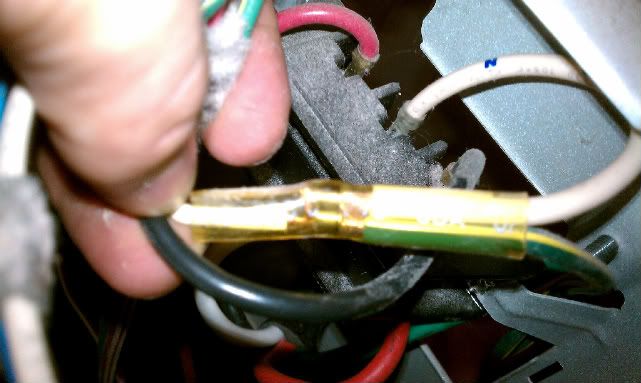 The pictures are also in my photobucket that I posted a couple posts back
|