Many thanks for your wonderful and detailed post.
My issue is that I do not have the orange wire to which everybody refers.
I do have a Sears 80 series dryer which looks exactly like your dryer.
Any assistance would be highly appreciated.
Cheers
Many thanks for your wonderful and detailed post.
My issue is that I do not have the orange wire to which everybody refers.
I do have a Sears 80 series dryer which looks exactly like your dryer.
Any assistance would be highly appreciated.
Cheers
[quote=PerkyPersian;74142]Many thanks for your wonderful and detailed post.
My issue is that I do not have the orange wire to which everybody refers.
I do have a Sears 80 series dryer which looks exactly like your dryer.
Any assistance would be highly appreciated.
Cheers[/quote]
I found the answer to my question. In cases where there is no orange wire
Cheers
Mike,
I can’t thank you enough. I too like so many others bought the part and tried to make sense of what the heck they were talking about. I’m a novice at best, but enjoy trying to figure things out on my own. But this one appeared to be one that I just couldn’t solve. I thought, “Why don’t they have any pictures” and then lo and behold I saw your post. Thank you, thank you, thank you.
stepsmit
I too had the issue of not enough information. These pictures helped me right up until I realized that everyone else had a orange wire, a red wire and a second red wire from the harness(whatever that is). I do not see an orange wire. I was installing the kit per the instructions and yours too but do not have an orange wire so I connected everything else as instructed and it still will not heat. Any ideas?
[quote=ubersky;30422]I don’t understand why no one can give a visual guide for this. So after reading lots of explanations on how it’s to be done, I did it, and took pictures. If anyone sees anything wrong with what I did, please let me know.
First off, I set out to replace all three thermostats in the back of my Whirlpool dryer. There is one on the Fan assembly, one near the bottom of the heating tube, and one near the top.
When I got the parts from searspartsdirect.com, I gave them the parts off of the parts list for my exact model. The lady didn’t tell me that the replacement for one of them would include another one, and that it would look different.
3387134 is the Fan Thermo.. replaced no problem.
3399693 is the lower Thermostat
3977393 is the upper Thermal Cut off
What I got was a different part for the lower thermo (3977767, which is a smaller thermo) and a replacement kit part 279816 for the upper.
It contains what we all know and love, the upper TCO, and a wierd 3390291 for the lower that doesn’t have the same J hook connector to the Heating Element.
After talking to a local appliance repair guy, he said it would be best to go with the kit, and do not use the 3977767 part as the 279816 is a newer release, and is paried with the upper TCO.
so.. I’ve collected pictures of the whole process as I did it. I hope this helps anyone else doing it, or more importantly, if someone sees something I did wrong, let me know. ![]()
These are thumbnails to the images on my image hoster. You can browse the album directly if you want to. Hope the image quality is decent enough to see. Comments above the pic.
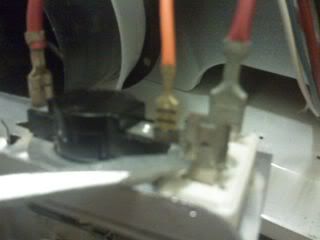
Pic of back of dryer. Fan assembly on left, Heating element on right.

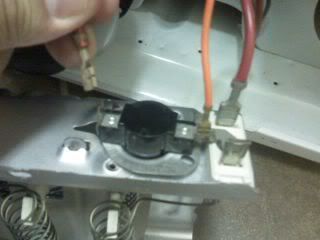
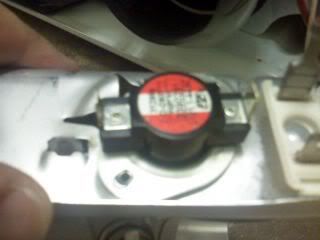
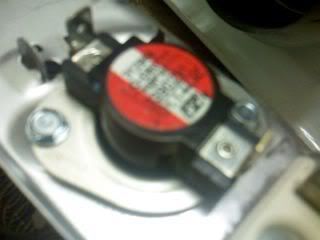
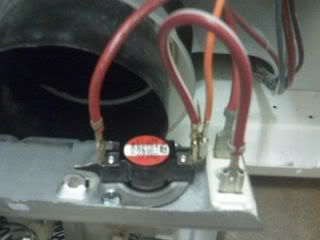
Close up of the Thermal Cut off
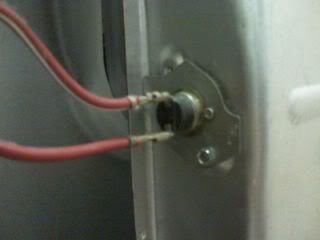
Close up of the Thermostat
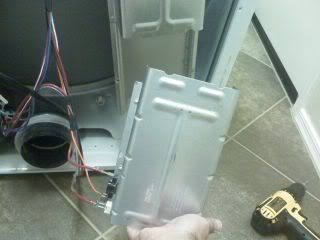
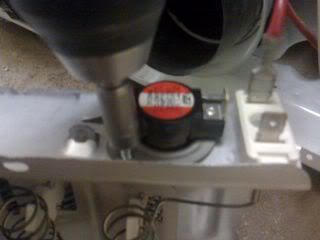
Removing the Heating Element housing
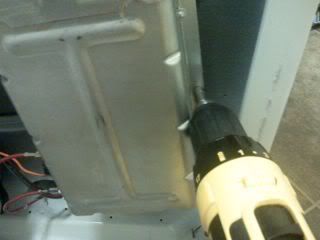
And it’s off!
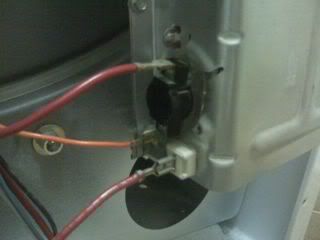
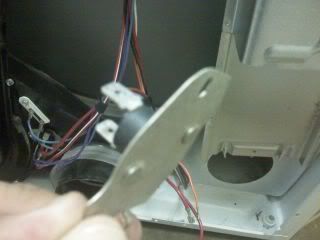
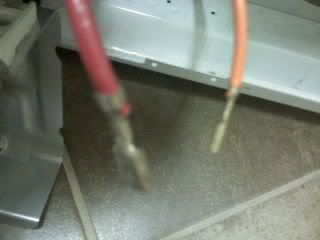
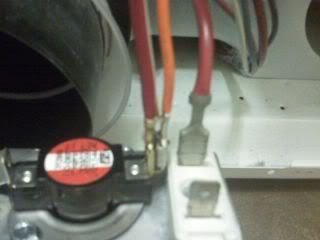
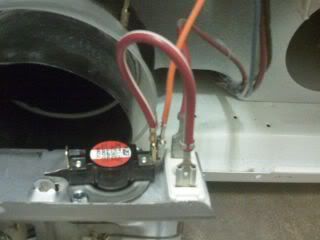
Close up of the Thermo. Notice the Red and Orange wires from the Dryer on the left, and the connector to the Element.

Prying off the connector
Removing wires
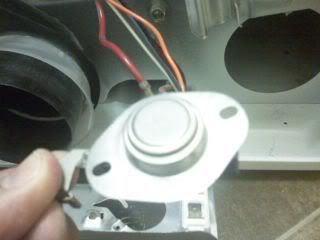
Inspection of the bad thermo
Removing the Thermal Cut Off
Inspection of the bad TCO
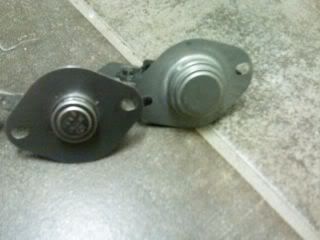
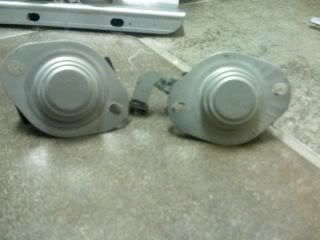
Comparing old and new, just in case
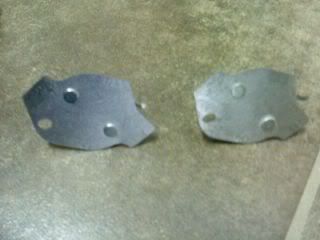
Replaced TCO… This is definitely the easy part.
Ok, This is the replacement part for the LOWER Thermostat that came by itself. This is part number 3977767. This is not to be used. See how it has the J connector on it? You’d think this would be the right part, but noooo.
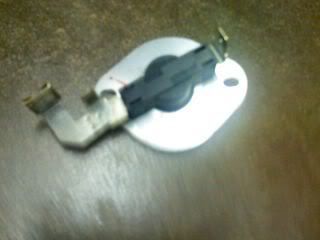
Notice the 3977767 has a smaller bulb.
Comparison of the correct part that came in the 279816 kit, part 3390291. See it’s missing the J connector.
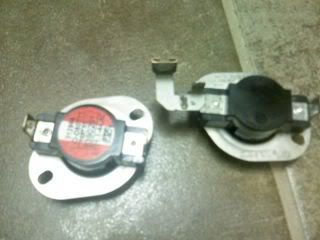
But it has the correct sized bulb.
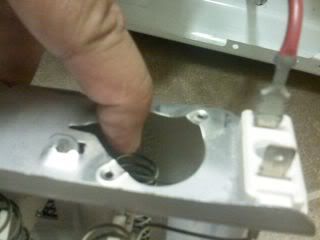
Instructions state to bend down the tab that the old one was held in by
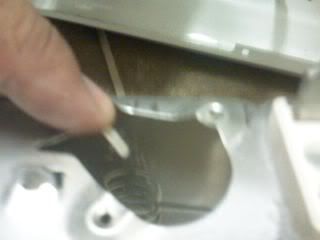
A little tough, but you don’t need to bend it that far.
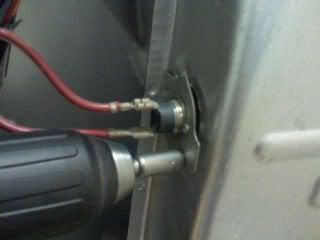
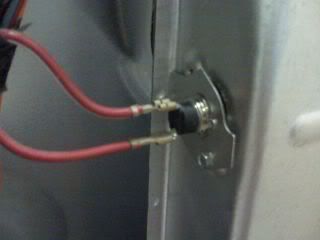
Place the new Thermo in place
And fasten with supplied screws.
Pretty neat huh?
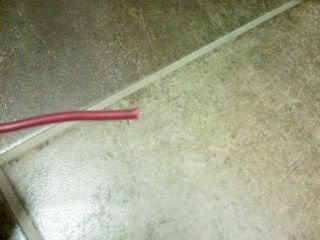
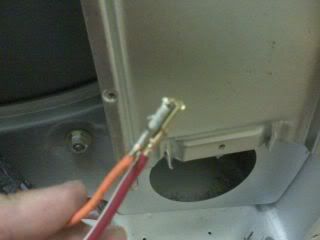
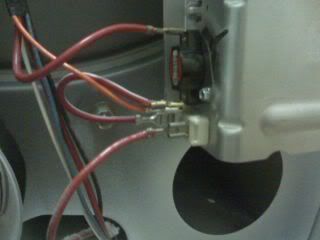
Ok, now inspect the wires. These are the red and orange ones removed from the thermo
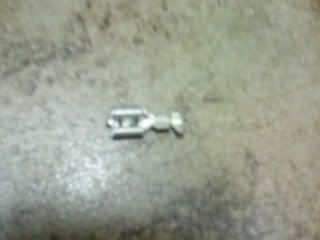
This is what came with the kit. One jumper wire, two connectors, one brass, one grey.
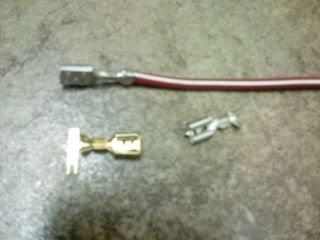
Notice something important. The jumper wire has different sized connectors. You want to leave the larger one as it will connect to the heating element where the J connector used to. Cut off the smaller one.
Snip.. no going back now.
eeeek.
Strip it.
And place the brass funny looking connector on it. Crimping it seems to be a pain in the butt, as the wires don’t seem to want to be contained by the little small prongs. The larger prongs on end are to grip the insulation. Make sure it’s all nice and neat.
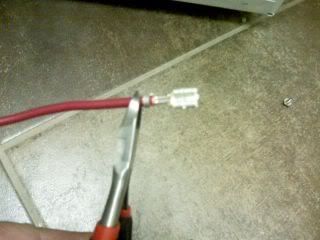
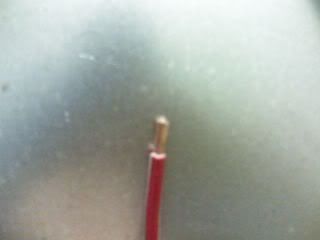
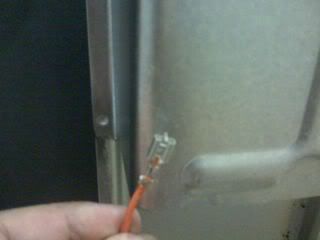
Ok, next cut off the connector from the orange wire connected to the Dryer. Again.. slight panic moment.
Strip it, put the grey connector on it, and crimp it in place. Easier, but make sure the crimp is tight so the wire doesn’t pull out.
All done.
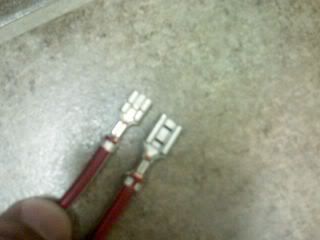
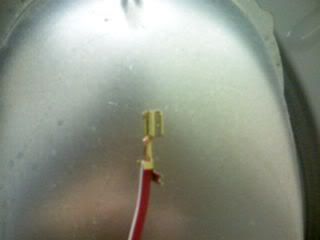
Ok, now shove the new orange with grey connector onto the extra flappy looking thing on the brass connector. They should look like they are having…well.. inappropriate contact.
then push the little lovebirds onto the thermostat.
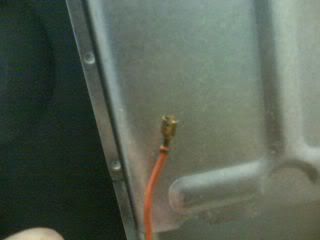
Then push the other end of the red jumper wire onto the Heating Element.
Then connect the remaining red wire from the Dryer onto the Thermo.
Replace the Heating Element housing, and secure.
At this point I’d re-plug the dryer in and test it. Everything looked ok to me, but we are going to run a few loads to see, and hope it doesn’t burn the house down. ![]()
Please let me know if you have any comments. I hope this doesn’t make the post too huge to be useful.
Mike[/quote]
Mike, the pictures are great but i ave a question. I have removed the thermostat part # 33690291 from my dryer, and when i shake it it rattles. Is this an indication of it being broken? I’m not sure if this particular thermostat is the issue with my dryer or not.
Accodring to this schematic LER8858EQ0 SECTION Parts
that part is the thermal cut off thermostat [part 9].
Personally i think i need to get to part #8, the cycling thermostat which i believe controls the amount of heat produced.
Note, my dryer works [i replaced the heating element a few years back after it fried] however, it doesn’t seem to cool down in the cool down cycle at the end of the cycle run. Does that make sense.
Is the jumper wire even needed if the thermostat removed from the dryer only has two terminals (that is ~ looks like the new thermostat)?
The one in the photos above looks like it attached to the heating element directly and the new style thermostat doesn’t do that; Is that is why the jumper wire is included, to make that connection?
If your old thermostat looks like the new one in the kit, (2-terminals) can you just plug the wires in and close up the back of the washer?![]()
Thanks!
Update: It would appear that you do not need to mess with that jumper wire if your old part looks like the new one. We’ve done a dozen loads so far with no ill consequences.
The pictures were great help. I replaced all three thermostats but am still having issues. Now the heating coil comes on when I just turn the timer on, not even pushing start yet. It stays on until I manually turn it off. The original issue with the dryer was that it was overheating, hot to the touch and basically burning the clothes. I cleaned out the lint ducts, checked for blockages, changed the thermostats, checked for a short and can’t figure out what the problem is. Any advice would be greatly appreciated.
Not knowing anything else about what’s going on with your dryer, but have you checked the airflow? Later that year we had problems again, and found a bird had built a nest in the Dryer vent exhaust. make sure your airway is clear!
I was so looking for this. I could not have made the repair without your pics and step by step helpful instructions. Thank you, thank you, thank you! ![]()
![]()
I followed the step-by-step picture instructions, which were very helpful in installing the 279816 thermal cutoff kit, but ever since then, my timer will not shut off the dryer. I even ordered a new timer and had the same problem with it. The timer does not move at all in the automatic dry modes and in the timed dry mode it will go past the cool down spot, but will hang up at the shut down spot and just continues to run on cool. Any ideas? I have seen some posts that suggest a thermal fuse could be the problem. I was wondering if there was a correct way (top/bottom) to attach the wires to the thermostat that I may have missed. Please help if you can.
As it turned out, it wasn’t the thermal sensors that was the problem with my dryer, but the air exhaust was plugged with a bird’s nest. I have a long run from my laundry room to the outside, and a bird had built a nest, screwing up the air pressure back to the dryer. Make sure your vent is blown out regularly (I use a yard blower).
I did all of the steps outlined exactly and my dryer still won’t start. If you put it on cool down it will cycle off and on for a few minutes but that’s all it will do. I don’t know what to do with it next. I have been looking online and your site is the only one that gave me any useful information.
Thank you